Wondering how a simple nail is too fundamental for the construction and manufacturing industry? Its transformation from raw metal to a precision tool is both fascinating and complex.
With years of experience in the industry and a deep understanding of nail manufacturing processes, I offer insights that can help operations and inform decision-making.
The manufacturing of nails involves several critical stages, from selecting the right materials to shaping and finishing; each step is crucial for producing high-quality nails.
In this ultimate guide, we delve into a comprehensive look at each stage of nail production, uncovering the techniques and machinery that make this process efficient and effective.
Read on to master the art of nails!
Step#1 Gathering of Raw Materials
Building on our exploration of nail manufacturing, the first critical step is the gathering of raw materials. This process is important for ensuring quality and durability. Here are the key aspects at this stage:
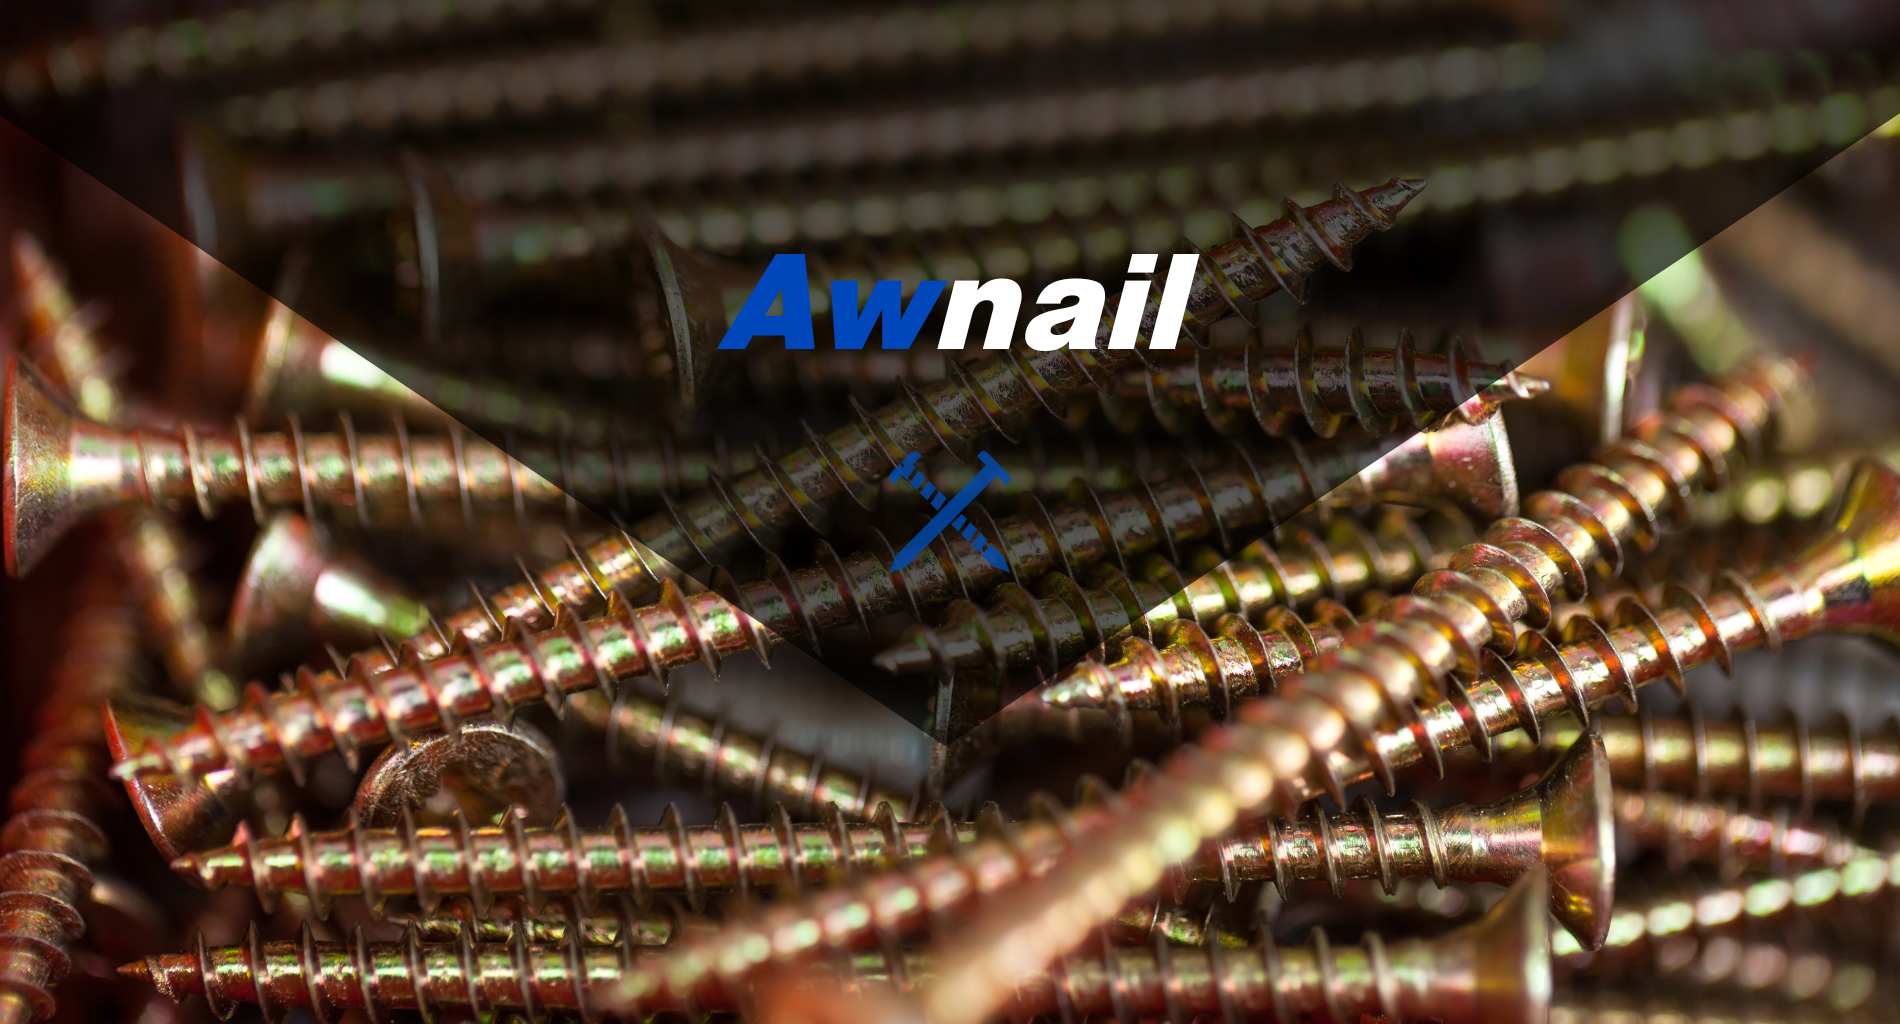
- Sourcing High-Quality Steel: The primary material for nail manufacturing is steel, typically sourced from reputable suppliers. As per Volza, steel export shipments stood from the world at 83.3M.Quality steel ensures strength and reliability in finished nails, which is crucial for demanding construction tasks.
- Ensuring Consistent Supply: Continuity in raw material supply is crucial for seamless production. This involves cultivating strong relationships with suppliers and securing contracts for regular deliveries.Such measures prevent production disruptions due to material shortages.
- Raw Material Initial Inspection: Once the steel arrives, it undergoes a thorough inspection. This critical quality control step checks for impurities, structural integrity, and compliance with material specifications. Effective inspection at this stage helps prevent defects in the final product.
- Storage and Handling Practices: Proper storage and handling of steel are imperative to preserve its quality. Adequate storage conditions prevent corrosion, while careful handling avoids material damage. Efficient practices in this area also contribute to reducing waste and optimizing production timelines.

Step#2 Preparation and Shaping
Following the selection of raw materials, the next crucial phase in nail manufacturing is preparation and shaping. Let’s break down the key processes in transforming steel into nails:
- Preparing theDesign Cut and Length: The first step in preparation is to design the cut and length. This is done to ensure uniformity in nail size. Awnail’s nail machines ensure that the length of the cut steel directly corresponds to the desired length of the final nail.
- Pointing the Ends: Once the wire is drawn to the correct thickness, one end of each wire piece is sharpened to form the nail’s point. This is typically done through a pointing machine, which grinds or cuts the end into a sharp point, essential for the nail’s functionality.
- Shaping the Opposite End: The opposite end of the wire is then prepared for shaping the nail. This process involves compressing the metal, creating a wider, flat end that allows the nail to be hammered without slipping. This is a critical aspect of nail design, providing both functionality and safety.

Step#3 Wire Drawing
Transitioning from the initial shaping, we delve into the wire drawing process, an important stage in nail manufacturing that refines steel’s dimensions. See the following key steps:
- Initial Diameter Reduction: The process begins with the initial reduction of the steel’s diameter. This is achieved by pulling the steel through a series of progressively smaller dies. Each pass through a die reduces the diameter slightly, ensuring a gradual and controlled reduction.
- Utilizing Advanced Machinery: Using wire drawing machines plays a crucial role in this step. They maintain consistent tension and speed, which are essential for achieving uniform thickness and strength in the wire. Awnail offers nail machines that are consistent in producing nails that meet strict standards.
- Heat Treatment for Flexibility: After the steel has been drawn to the desired thickness, it undergoes a heat treatment process. This step tempers steel, enhancing its flexibility and preventing brittleness. Flexibility is essential for nails to withstand the stresses of use without breaking.
- Surface Cleaning and Preparation: The drawn wire is then cleaned to remove any scale, residue, or impurities that may have accumulated during the drawing process. A clean, smooth surface is crucial for the subsequent steps in nail manufacturing, particularly coating and finishing.
Step#4 Cutting and Heading
After the wire is precisely drawn to the correct thickness, the next essential phase in nail manufacturing is cutting and heading. Let’s explore how this process gives the wire its distinct nail shape:
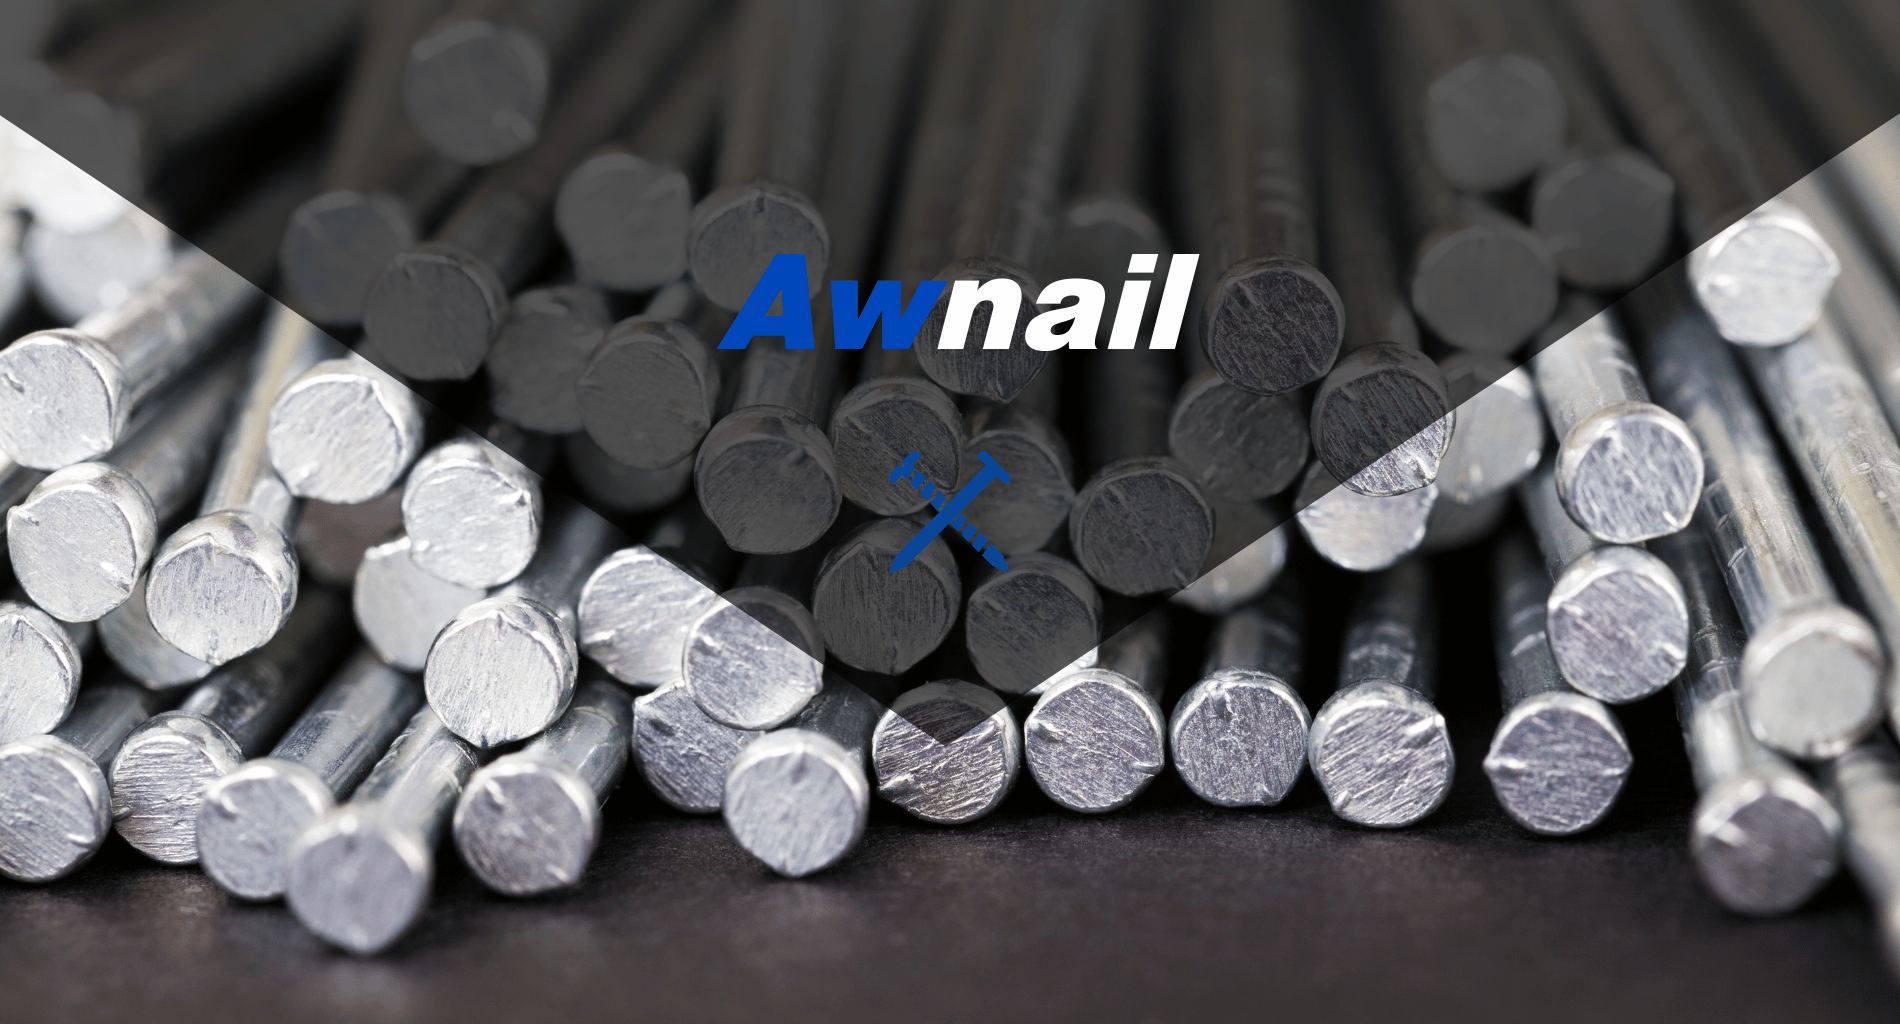
- Precision Cutting to Nail Lengths: The drawn wire is fed into a cutting machine, where it’s chopped into individual nail lengths.This is a high-precision task, ensuring each nail is of uniform length. For example, a 2-inch nail requires the wire to be cut precisely to this length.
- Heading to Form the Nail Head: Once cut, each piece of wire is placed in a heading machine. Here, one end of the wire is hammered or pressed to form the flat head of the nail. This head is crucial for providing a surface to strike and for preventing the nail from going too deep into the material.
- Ensuring Consistent Head Formation: The heading process must be consistent to ensure each nail has a uniform head. This uniformity is important for automated nail guns used in construction, where inconsistent heads can cause jams or misfires.
Step#5 Thread Rolling
Following the precise cutting and heading process, the next step in nail manufacturing is thread rolling. This stage is crucial for creating the threaded texture on certain types of nails. The following are the key steps:
- Selection of Nails for Threading: Not all nails undergo thread rolling. This process is typically reserved for nails that require extra grip, such as those used in framing or decking. For instance, a 3-inch framing nail would be selected for threading to ensure better hold in wood.
- Feeding Nails into the Thread Rolling Machine: The selected nails are then fed into a thread rolling machine. This machine has dies that are engraved with the reverse pattern of the thread to be rolled onto the nail.
- Applying Pressure to Form Threads: As the nail passes between these dies, high pressure is applied causing the metal to conform to the thread pattern on the dies. This pressure must be precisely calibrated to ensure the threads are uniform and not too deep, which could weaken the nail.
- Inspecting for Consistent Thread Quality: After threading, each nail is inspected to ensure the threads are uniform and properly formed. This step is essential before proceeding to the next process, as improperly formed threads can compromise the nail’s holding power and overall effectiveness.
Step#6 Coating and Finishing
With threading complete, the nails move to the coating and finishing phase, which enhances their durability and functionality. Here are some of the crucial steps involved in this process:
- Deciding on the Type of Coating: The type of coating applied depends on the nail’s intended use. For example, galvanized coatings are often used for outdoor applications to prevent rust, while bright finishes are preferred for indoor use for aesthetic reasons.
- Applying the Coating: The chosen coating is applied to the nails. This can be done through various methods, such as dipping, spraying, or electroplating. The method chosen depends on the type of coating and the desired thickness and coverage.
- Curing and Drying: After coating, the nails must be properly cured and dried. This step solidifies the coating, ensuring it adheres well to the metal. The curing process might involve baking the nails at a high temperature or allowing them to air-dry, depending on the coating type.
- Final Finishing Touches: The last step is applying any final finishes, such as polishing or buffing. This enhances the steel nail’s appearance and can also remove any irregularities in the coating, ensuring a smooth and uniform finish.
Final finishing touches on steel nails are crucial for ensuring the highest quality and aesthetic appeal of the product. This process includes various techniques like polishing or buffing, aimed at enhancing the appearance and ensuring a uniform finish. Below is a table that outlines the key aspects of final finishing touches, their importance, and considerations for implementation.
| Finishing Touch | Importance | Consideration |
| Polishing | Improves the aesthetic appeal of the nails and can also protect against corrosion by smoothing the surface. | Determine the appropriate polishing technique based on the nail’s material and the desired finish. Care must be taken to avoid over-polishing, which could affect the nail’s dimensions or integrity. |
| Buffing | Creates a high-gloss finish, enhancing the product’s visual quality and feel. Buffing can also help in removing minor surface imperfections. | Choose the correct buffing compound and wheel to achieve the desired level of shine without compromising the nail’s surface quality. |
| Coating Inspection | Ensures that any applied coatings are even and without defects, contributing to both the nail’s functionality and appearance. | Implement quality control measures to inspect and rectify any irregularities in the coating, such as drips or uneven applications. |
| Removal of Irregularities | Identifies and removes any physical defects on the nail’s surface, ensuring a smooth and uniform finish. | Utilize precision tools and techniques for defect removal that do not compromise the nail’s structural integrity. |
| Quality Assurance | Final step in the quality assurance process to confirm that the nails meet all specified standards for appearance and performance. | Establish rigorous inspection criteria and procedures to ensure that every batch of nails conforms to the desired quality levels. |
| Packaging Preparation | Prepares the nails for packaging, ensuring they are clean, dry, and free from any finishing residues. | Implement processes to handle and package the nails in a way that maintains their finished quality until they reach the end user. |
Step#7 Packaging and Quality Assurance
Following the coating and finishing process, the final stage in nail manufacturing is packaging and quality assurance. This phase ensures that the nails are good and ready for distribution. See the helpful steps below:
- Conducting Final Quality Checks: Before packaging, nails undergo a final series of quality checks. This includes inspecting the coating, finish, size, and shape to ensure they meet the set standards. Any nails that fail these checks are removed from the batch.
- Sorting and Organizing: Nails are sorted based on type, size, and application. This organization is crucial for efficient packaging and helps customers easily find the specific type of nail they need for their project.
- Packaging for Protection and Convenience: Nails are then packaged in a way that protects them from damage and corrosion during transportation and storage. The packaging also considers the convenience of the end-user, often including resealable containers or easy-to-handle boxes for bulk nails.
- Labeling and Branding: The final step in packaging involves labeling and branding the products. Labels include important information such as the type of nail, size, quantity, and usage instructions. Branding helps in market differentiation and aids clients in identifying product quality.
Dive Deeper Into Our Resources
Looking for more diverse product options? Browse through our handpicked selections:
For some insightful reads, we’ve curated a list of recommended articles just for you:
Still haven’t found what you’re looking for? Don’t hesitate to contact us. We’re available around the clock to assist you.
Conclusion
In summing up this journey of nail manufacturing, this guide lights up the precision and expertise required at each stage, from gathering raw materials to the final quality checks. Understanding this process is key for businesses looking to make informed decisions in their nail supply chain.
For businesses seeking excellence in nail machine manufacturing, Awnail stands as a standard of quality and reliability. To explore how we can elevate your operations, contact us now.